5 Reasons Moving Mid-Semester Might Be Your Best Move
Thinking about moving out mid-semester? Here are five good reasons it might be the right call, when to stay put, and how to leave without paying for months you won't use.
Good listing photos get more responses. Here are ten simple ways to make your apartment look its best using just your phone.
September 5, 2026
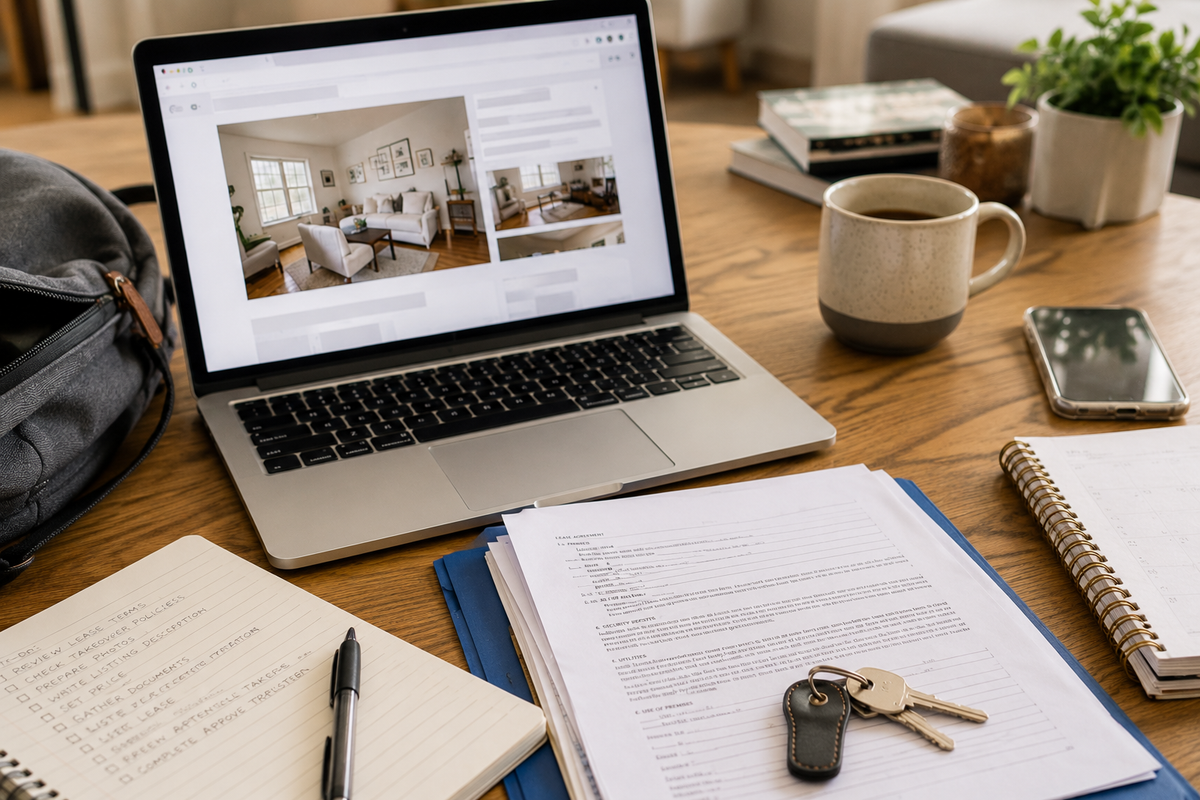
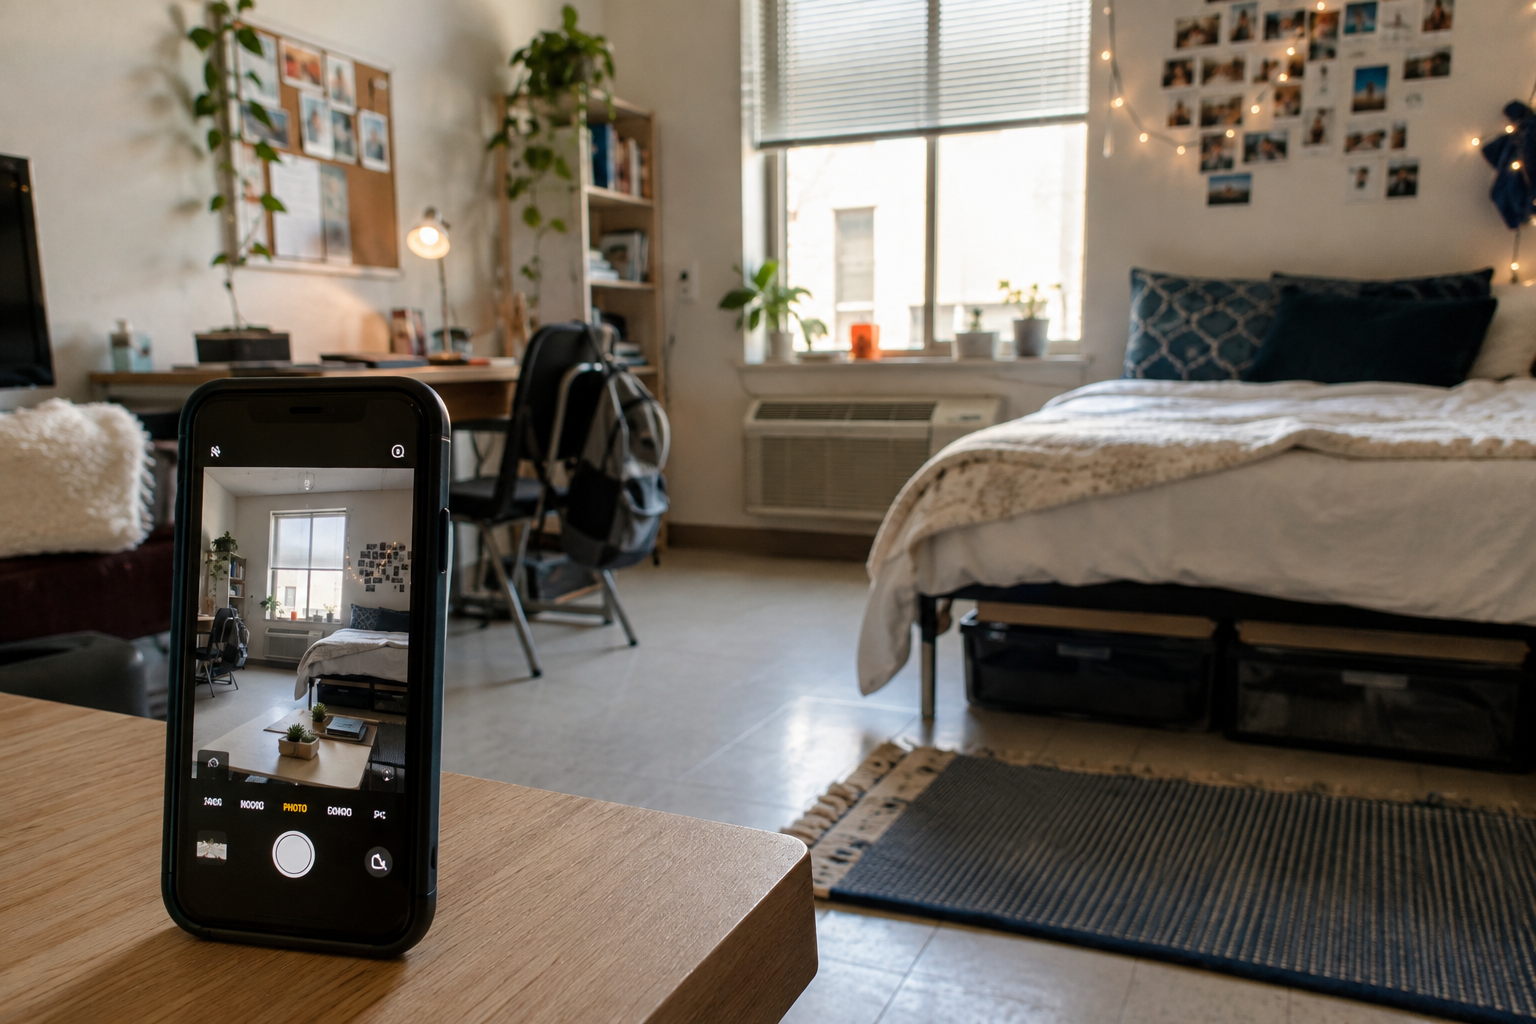
You don't need a professional camera or serious editing skills to take listing photos that actually get responses. A clean lens, good light, and a few basic framing choices do most of the work. Here are 10 things we've found that are worth doing before, during, and after taking your photos.
This one's easy to skip, and it shouldn't be. Phone lenses pick up pocket lint, and smudgy fingerprints constantly, and a smudged lens makes every photo look slightly hazy or soft, even in good light. A quick wipe with a shirt or cloth before you start takes five seconds and noticeably sharpens every photo.
Clear the countertops, make your bed (we know), put away laundry, and tuck away anything that makes a room look smaller or messier than it is. A tidy, half-empty room photographs better than a lived-in one, even if the lived-in version is more "accurate" to your daily life. You want other people to focus on your place, not your stuff in the photo. Good listing photos get more responses. Here are ten simple ways to make your apartment look its best using just your phone.
Important: put away anything with your name or photos of you - safeguard your privacy online.
Open your blinds and curtains, make sure the lights in the room are bright but not overwhelming, then shoot during the day. Natural light is more flattering and accurate than most indoor lighting, which tends to cast a yellow or greenish tint that makes photos look dull. If a room doesn't get much natural light, shoot it around midday when outside light is strongest, rather than at night with the lamps on.
Landscape orientation shows more of a room's actual width and looks better on most listing sites and buy-sell groups than a tall, narrow vertical shot you would normally do for social. It's a small adjustment, but it makes a big difference in how much of the space someone can actually see from your photo.
Standing in a doorway or corner and shooting across the room, rather than standing in the middle, makes spaces look larger and gives viewers a better sense of the actual layout. Turn on your phone's grid lines if it has them, and use them to keep vertical edges (door frames, walls) straight rather than tilted.
Start each room with one wide shot that shows the whole space, then follow it with close-ups of anything worth highlighting: a renovated bathroom, a fireplace, a view out the window. The wide shot orients the viewer, and the close-ups gives them the details.
Storage space is one of the first things people ask about and one of the most commonly forgotten in listing photos. A quick shot of closet space or bike storage, especially if it's a genuine plus, answers a question before it's even asked.
A photo of the exterior, the entrance, and parking (if it's included or nearby) helps people recognize the property and gives context that interior shots alone don't. It also signals you're showing the real, specific place, not a generic stock-style listing.
Take a second to zoom in on your phone screen after each shot to check for blur or bad focus, rather than assuming it's fine and realizing later that half your photos aren't. It's a lot easier to retake a photo on the spot than to redo an entire room later.
A little brightness or contrast adjustment is fine, but avoid heavy filters that noticeably change the color or feel of a room. You don't want there to be a huge disconnect between your real place and what someone sees online. Accurate photos build trust faster than flattering-but-misleading ones, and they save you from awkward conversations later.
Q - Do I need a professional camera to take good listing photos?
A - No. A phone works fine as long as you pay attention to lighting, cleanliness, framing, and a clean lens.
Q -What time of day is best for listing photos?
A - Midday, when natural light is strongest, generally produces the clearest and most accurate-looking photos.
Q - Should I edit or filter my listing photos?
A - Light adjustments to brightness are fine. Avoid heavy filters that make the space look noticeably different from how it actually looks in person.
Q - What's one thing most people don't think about when taking photos of their place to post online?
A - Put away anything with your name on it, or pictures of you, that could be recognized online - safeguard your privacy until you are comfortable sharing your information.
Q - How many photos should I include in my listing?
A - Enough to show every main room clearly, plus closets, storage, and any specific features worth highlighting. A handful of clear, well-lit photos beats a large number of rushed ones. 10-15 is optimal.
Q - Does decluttering before photos actually make a difference?
A - Yes. A clean, uncluttered space almost always photographs better and gives a more accurate sense of the room's actual size and layout.
Off-campus housing transitions can be frustrating and confusing. Searching for answers and not sure where to start? That's why we're here. Email the Team at hello@myleasetakeover.com, or send us a message on Instagram or Facebook. We’re glad to help.
Written by the Team at myleasetakeover.com | Join the Takeover.
We started myleasetakeover.com because we've been there: a housing plan that changed overnight with no clear next step. We're here to help students and parents navigate housing transitions, so you don't have to figure it out alone.
 Janelle Rawlston